Category: Ecoretrofit
-
Join in our summer of retrofit DIY and improve your home
A series of free and low cost workshops in South London to help you improve your home and reduce costs.
-

Case Study: Whole-House Retrofit in Lewisham
Project Overview: Transforming a London Home for Net-Zero This project is located in an Edwardian residential area built between 1907 and 1911 on the site of the former Belmont villa in Lewisham, South London. The project aimed to improve energy efficiency and air quality through a deep energy retrofit. The homeowner wanted to tackle climate…
-

Too Hot In Your Home? Retrofit To Cool It Down
Sadly it looks like overheating is a problem that is only going to get worse over the next few years. Whilst most of us do our best to reduce our emissions and try to make it a nicer less polluted planet governments around the world either can’t or won’t change things on a larger scale.…
-

Annie and Will make their home more energy efficient
Annie and Will contacted me at Ecoalex because they wanted to make their house in Wimbledon, South East London warmer and more energy efficient. They have a realistic budget for the project but want to make the most of it and prioritise the projects that save the most carbon and fit with the renovation plans…
-
Making your home cosier and more efficient with Ecoalex
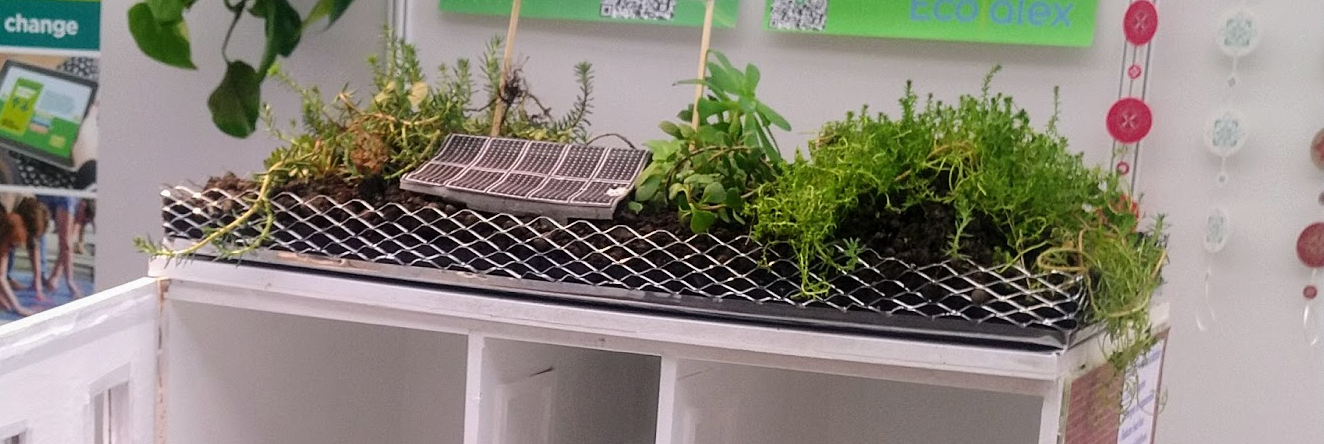
Alex spoke at the Green Conversations event held by the St John’s Society in Deptford and brought along the retrofit dollhouse to demonstrate how external and internal wall insulation may be used to maximize heat conservation while preserving historical featuresin a solid wall property. The retrofit dollhouse serves as an educational tool, showcasing the possibility…
-

Building a green roof in South London
New green roof in South London with gabion cages for the sides, insulation and biodiverse planting.
-
Thriving green roof in Welwyn Garden City
This green roof on an extension in Welwyn Garden City is nearly 10 years old and has been thriving. This was the first green roof I made so I was a little cautious about the loading, the middle are is sedum on a foam drainage mat with very little soil. The edges have more soil…
-

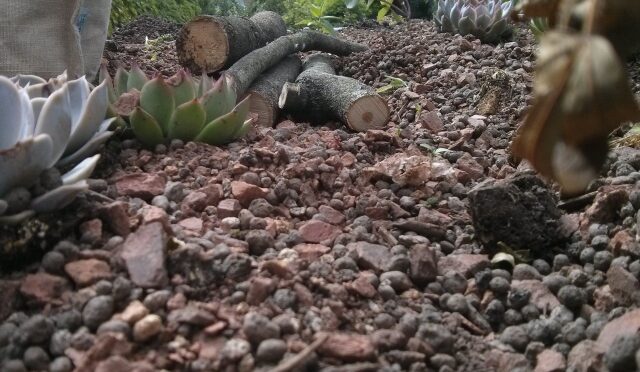
Lockdown green roof
This is one that’s growing right now. I built it with the kids using leftover materials from other jobs and an old pallet to stand in for the roof. The rocks in gabion cages look great and it is super green but lacking in the wildflowers that we seeded it with.
-
SYdenham hill green roof
This is a small green roof on a modern house in Sydenham Hill. It uses white painted railway sleepers for a frame to match the fascia boards on the house and I think fits in very well.
-
East dulwich green roof
This was a green roof on a new extension built from reclaimed bricks. The roof had a slope on it meaning we used a different drainage system that also helped retain the soil in place. It also had a watering system added at the top of the slope for the dryer months.