Category: Projects
-

Case Study: Whole-House Retrofit in Lewisham
Project Overview: Transforming a London Home for Net-Zero This project is located in an Edwardian residential area built between 1907 and 1911 on the site of the former Belmont villa in Lewisham, South London. The project aimed to improve energy efficiency and air quality through a deep energy retrofit. The homeowner wanted to tackle climate…
-

Annie and Will make their home more energy efficient
Annie and Will contacted me at Ecoalex because they wanted to make their house in Wimbledon, South East London warmer and more energy efficient. They have a realistic budget for the project but want to make the most of it and prioritise the projects that save the most carbon and fit with the renovation plans…
-
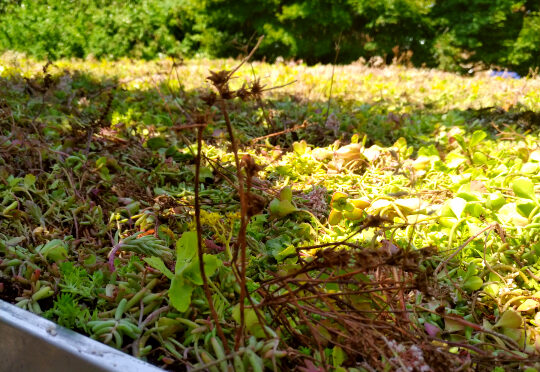
Marlow roof update
Some gorgeous pictures from the roof I built in Marlow last year including some priapic sedums!
-
‘Spectacular’ green roof in Dulwich
I built this one last week on a garden office in Dulwich. I don’t do so many sedum roofs but this did come up looking really nice and is instantly green. The roof build up was using the Optigreen lightweight roof system. A protection fleece over the waterproofing, drainage layer, lightweight substrate and pregrown sedum…
-

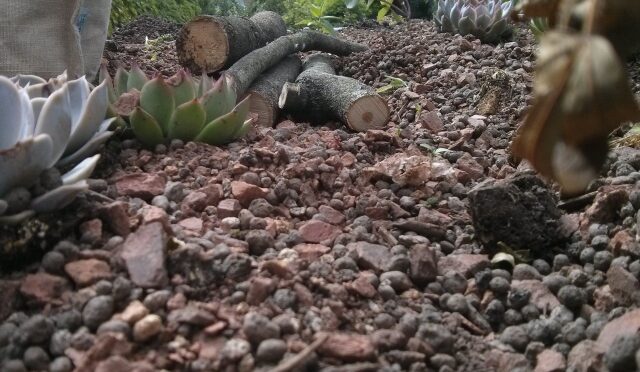
Lockdown green roof
This is one that’s growing right now. I built it with the kids using leftover materials from other jobs and an old pallet to stand in for the roof. The rocks in gabion cages look great and it is super green but lacking in the wildflowers that we seeded it with.
-
East dulwich green roof
This was a green roof on a new extension built from reclaimed bricks. The roof had a slope on it meaning we used a different drainage system that also helped retain the soil in place. It also had a watering system added at the top of the slope for the dryer months.
-

My Shabbihaus eco retrofit project – part 1 introduction
Intro to my home retrofit project
-
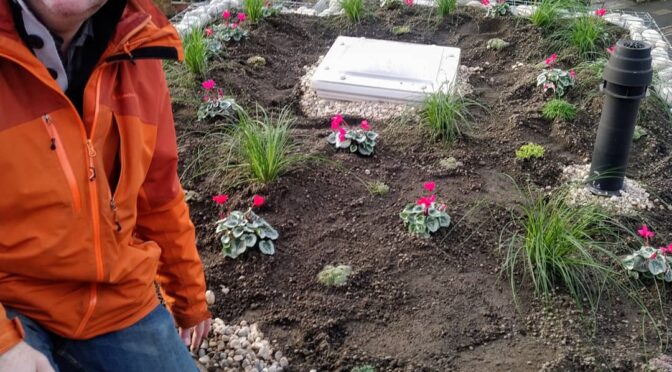
Gabions and cyclamen, a new green roof in Herne Hill
It’s taken a little while to share this new green roof I built in Herne Hill recently. There were a number of challenges here particularly the height of the roof with no edge protection, we used a harness to install the edges. The edges were built using gabion cages filled with cobbles. This created a…
-

Putney roof insulation
The first stage of this project was replacing the insulation in the sloping roof of the dormer and adding storage to the eaves. The loft conversion has been done reasonably well and the flat roof area and rear wall properly insulated. However the existing sloping roof was not so successful. Polystyrene insulation had been installed…
-

Putney retrofit project
I am currently refurbishing this gorgeous two bedroom flat in Putney. The client is very keen to improve the performance of the house and I am working on the structure to ensure it will be warm, airtight and condensation free for the future. A Parity Home Energy Masterplan has also been carried out for…