Categories
Construction Encouraging wildlife and nature Shabbihaus retrofit Ventilation & fresh air

My Shabbihaus eco retrofit project part 4 living wall insulation

Dry air in the house is a good achievement but I have also been worrying about the pollution levels. Two of the three air intakes are located above the back garden and the front one has some good tree coverage between it and the road but it is still a busy traffic area. This made me look at some alternative ways of cleaning the air, I did some googling and came across the NASA research project on houseplants and their impact on air quality. Now before I go any further I do realise that these were controlled tests and we would also need a very large number of plants to get a big impact but I figure it can’t hurt and what I made looks great.

I have been keen to do something with reclaimed wood and also to add some extra insulation to the flank wall in the kids bedroom so I got a bit carried away here and produced this wall made from old pallets with 50mm of woodfibre insulation behind it. I was a bit nervous about this project as it has a bit more of a design impact than some of the other projects, it’s been in a while now though and I am so pleased with the outcome visually. 

The first thing we did was tour the streets collecting abandoned pallets. I found that ones that were slightly broken already were better as they are easier to dismantle than really well built ones. The kids really enjoyed the collection process and I also got them to stain some of the planks we extracted to add some variety to the wall.

Next step was to get hold of some wood fibre insulation, not so easy for small quantities but thanks to https://phstore.co.uk/ for arranging it for me, delivery costs almost the same as the insulation in small quantities but cheaper than elsewhere and charming service too. I then fixed some 50mm battens to the wall at 600mm and push fitted the insulation between. 

The next bit involved a nail gun so was great fun managed to charm the lady at Travis Perkins into giving me a discount and I was off. I fixed them in an offset pattern and tried to group similar widths of board together so it wasn’t too bumpy. 

Then we had to make shelves for the plants to grow on. I used the ‘dice’ from the pallets (technical term for the square bits that go in between the pallets) screwed into the wall to support shelves made from more pallet boards. These dice are pretty tough and tricky to drill through, one of them still has half a drill bit in it where it snapped. 

Once it was all up we put in the plants, I used Chinese evergreen, peace lily, some snake plants and a cutting from an old spider plant. I also put in a watering system! Well, I bought some globes that you fill up and they drip out over a couple of weeks, they are a bit inconsistent but a lot cheaper than some automated system. I top them up with waste water from kids water bottles and they are still growing nearly a year later.

Categories
Construction Ecoretrofit Gadgets Shabbihaus retrofit Ventilation & fresh air

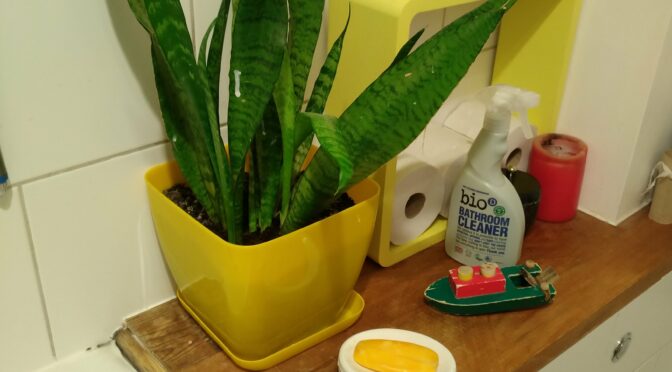
My Shabbihaus eco retrofit project part 3 ventilation & bathroom

The other work I did at this time was in the bathroom, not really energy efficient specifically but we re-used the bath, just changing the handles. The sink was reclaimed from another site and we re-used wood from elsewhere in the house. I also looked at improving the ventilation and added a larger inline fan in a kitchen cupboard. This was set to overrun by 20 minutes and helped reduce humidity in the house, more on that in a bit.

After this point we had a new kitchen and bathroom so the opportunities for add on work were limited. Over the next few years the family got a bit bigger and problems with humidity began to increase in the bedrooms. Then, earlier this year the housing association who own the freehold for the property finally got their act together and decided they would replace the windows. I wanted new wooden ones but the majority won out and we got cheaper plastic ones. They seemed to think this would stop condensation but I realised that this will just condense elsewhere if we don’t remove it. I am also concerned about air quality as we are quite near the centre of town and pollution levels are high. So I did some investigation and formulated a plan to coincide with the window works that would deal with humidity and provide plenty of fresh, clean air in the flat.

I initially looked at mechanical ventilation with heat recovery, these systems are either too big or too noisy to install in a small flat and the filters don’t cover as many pollutants as I would like, a NOx filter is even bigger so even less likely to happen. I was still keen on using a bigger fan to ensure extraction from a central bathroom with a fairly long (3m) duct to the outside. Through some work I am doing with the GLA I came across the Aereco system which has a single fan and then extracts in the bathroom and the kitchen.

Aereco fan in ceiling
Boxed in behind an access panel

This extraction draws air in from the other drier rooms in the flat, I put a small vent in each door to allow the air to come through even when the doors are shut. Each room has a humidity controlled trickle vent on one window, this opens wider as the humidity in the room increases to allow more fresh air in. As there is quite a lot of traffic round us I also chose acoustic trickle vents which are larger. They work well but I probably wouldn’t bother if I did it again, I miss the sirens.

So I am drawing in dry air from outside, this might be a bit colder but heating dry air is a lot easier than heating wet air so there shouldn’t be an increase in costs. The fan runs all the time at a low speed so again uses very little energy, probably less than £20 a year. It’s also much quieter than my previous fan, I can’t actually hear it in the kitchen where it is located, the bathroom has a small noise because the intake is so close to the fan but still nothing compared to a normal bathroom fan.

So the ventilation has been in for a few months now and it does already feel fresher. The true test will be this winter but towels in the bathroom are drier and the summer heat is a little less stifling with the air flow through the rooms. When we installed we got the following extraction rates for the system. This meant at best we would achieve 14.8 l/s, which is above the minimum rates in Part F, but below what Vince from Aereco thinks the performance of the system should be.

After some investigation we changed the louvred grill on the outside to a better one and there was a massive increase of 12+pa at each extract grille. I’ve shown the rates below at 45pa. You can see that there is a performance increase of 2l/s just by changing the Louvre Grille outside.

Finally Vince provided me with the minimum extract rate for the grille as well. This is where our system can provide energy savings as when there is no moisture detected, it can drop to a very low extract rate, way below minimum regulations – Shown here at 4.8l/s.

So we are now halfway through winter and it is all looking good, no condensation that we have found and the towels in the bathroom are drying overnight. Cooking smells are also gone very quickly from the flat and no new mould is growing on the silicon round the bath. In the summer it was a little bit fresher overnight as well, no maintenance needed except washing the covers for the extract grill. No noticeable difference in our electricity use, when we turned the fridge, router etc off the energy usage was so low our monitor registered at 0p per hour.

The only drawback so far is that the plants are drying out, we never used to have to water the plants in the bathroom and now we have killed one of them and only just rescued the other!

Showing the snake plant that used to take moisture from the air
Air cleaning snake plants