-
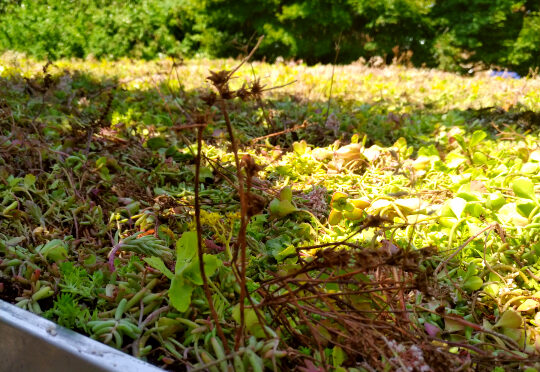
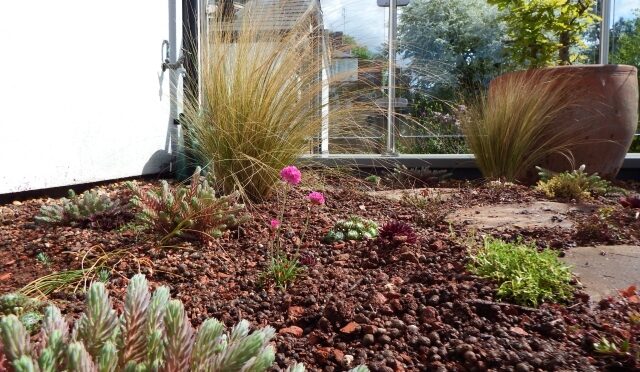
Marlow roof update
Some gorgeous pictures from the roof I built in Marlow last year including some priapic sedums!
-
‘Spectacular’ green roof in Dulwich
I built this one last week on a garden office in Dulwich. I don’t do so many sedum roofs but this did come up looking really nice and is instantly green. The roof build up was using the Optigreen lightweight roof system. A protection fleece over the waterproofing, drainage layer, lightweight substrate and pregrown sedum…
-

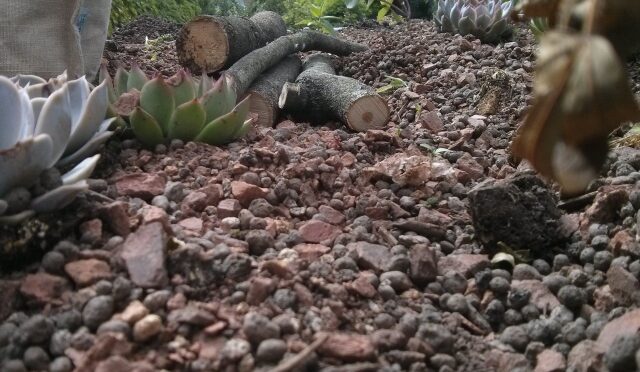
Lockdown green roof
This is one that’s growing right now. I built it with the kids using leftover materials from other jobs and an old pallet to stand in for the roof. The rocks in gabion cages look great and it is super green but lacking in the wildflowers that we seeded it with.
-
Muswell hill roof
Another one on a new extension this one was specified with a sedum mat. Ever keen to increase biodiversity I also sowed it with wildflower seeds. I quite like it as a way to put the roof together, very simple and also quick, if a bit heavy getting the mat up to the roof. The…
-
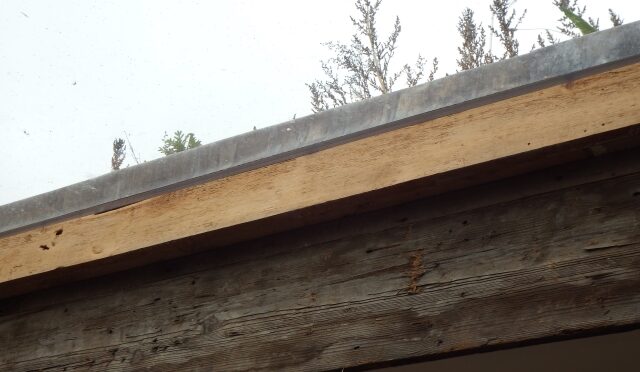
SYdenham hill green roof
This is a small green roof on a modern house in Sydenham Hill. It uses white painted railway sleepers for a frame to match the fascia boards on the house and I think fits in very well.
-
East dulwich green roof
This was a green roof on a new extension built from reclaimed bricks. The roof had a slope on it meaning we used a different drainage system that also helped retain the soil in place. It also had a watering system added at the top of the slope for the dryer months.
-
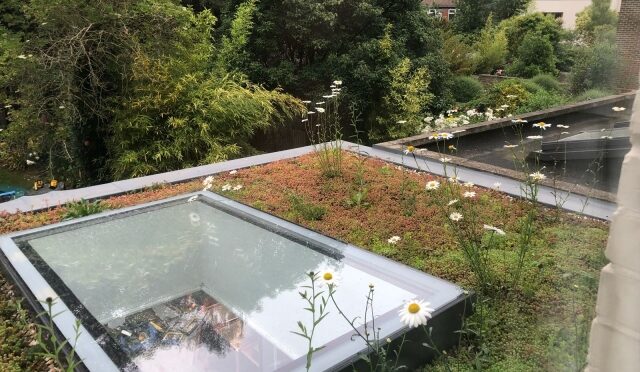
Hackney retrofit green roof
This was a really cool extension using reclaimed materials in Hackney. The green roof was a bit tricky to photograph but you can see the effect of the plants blowing in the wind above the skylight.
-
Highgate green roof
A 2 section green roof installed in Highgate as part of an Eco retrofit being carried out at the property. We incorporated reclaimed york stone paving slabs to create a path which was lined with lemon thyme that should grow over it and release a fragrance when trodden on. Some of the existing planters were…
-

Stoke Newington roof
This was a tiny green roof built as part of a refurb a friend was doing in Stoke Newington. Some nice plants from New Covent Garden and great to have some builders on site to carry all the soil upstairs.
-

Green roof on a bike shed
This is a project I completed back in October, secure cycle storage and a green roof. The client wanted secure storage in the front garden without having a big ugly box taking up all the space for planting and we came up with this elegant solution. As the shed is on the way into the…
Got any book recommendations?